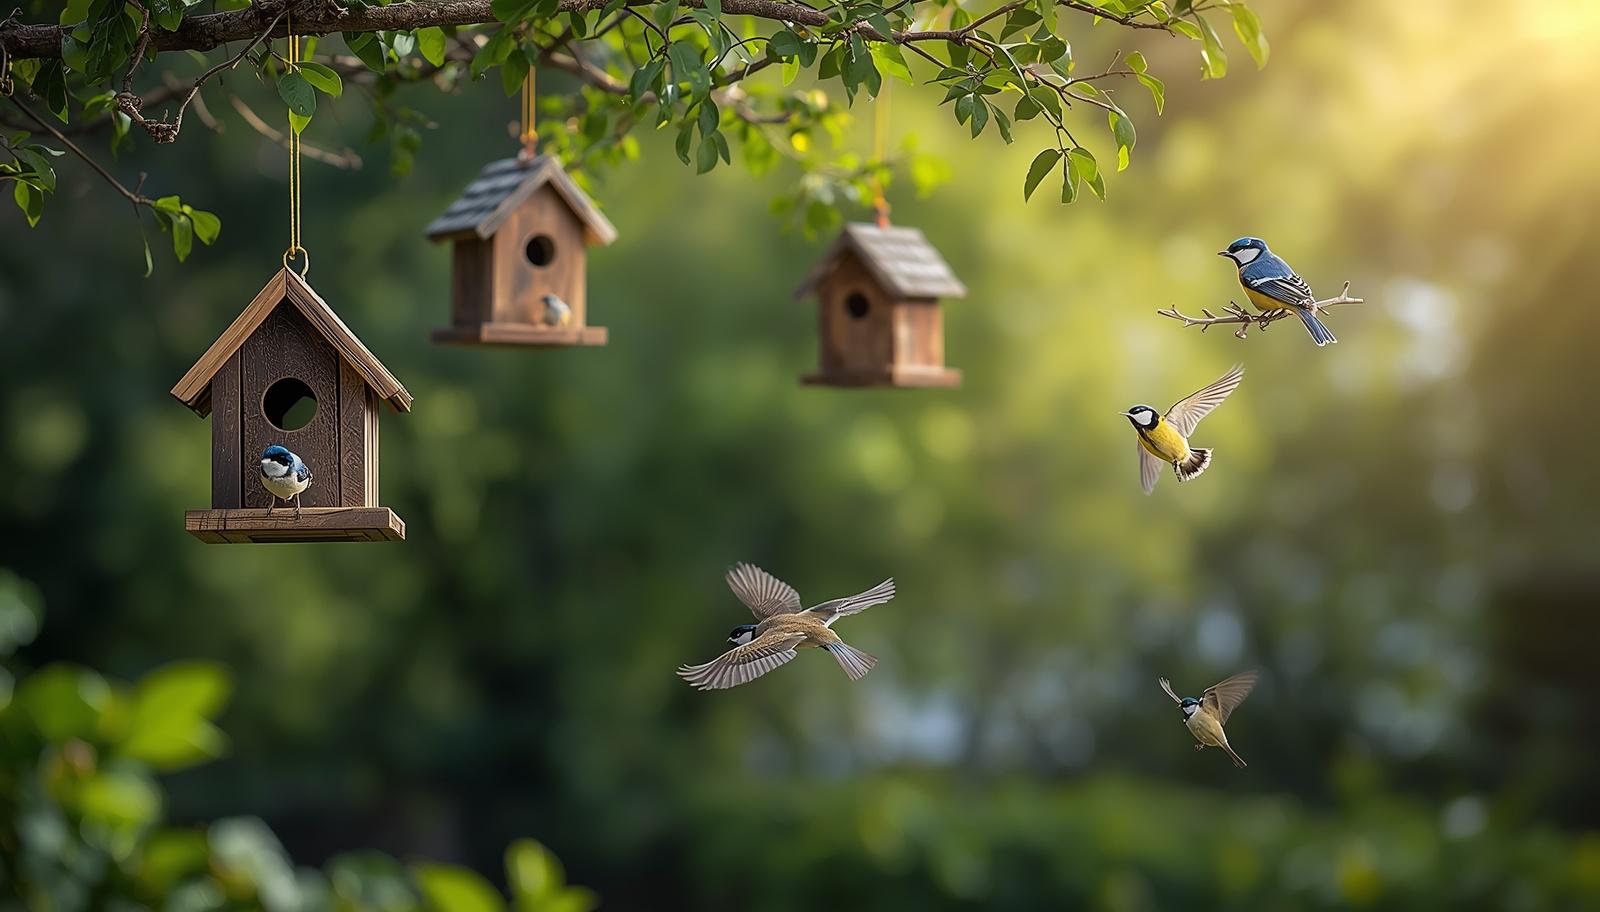
Have you ever wanted to welcome more birds to your garden or backyard? Making bird houses out of wood is a simple and rewarding way to do just that.
Not only will you create a cozy home for your feathered friends, but you'll also enjoy the satisfaction of building something with your own hands. This guide will walk you through easy steps, even if you’ve never worked with wood before.
By the end, you’ll have the skills to craft beautiful bird houses that attract birds and add charm to your outdoor space. Ready to get started? Let’s dive in!

Credit: m.youtube.com
Choosing The Right Wood
Building bird houses needs the right kind of wood. The wood should be safe and last long outside. Picking the correct wood helps protect the birds.
Here are tips to help choose the best wood for your bird houses. Learn which woods work well and which to avoid.
Best Wood Types For Bird Houses
Some woods are better for bird houses. They resist weather and keep birds safe. These woods do not harm birds or leak chemicals.
- Cedar: Naturally resists rot and insects.
- Pine: Easy to find and work with, but seal it well.
- Redwood: Strong and weather-resistant.
- Spruce: Affordable and light but needs protection.
Avoiding Treated Woods
Treated woods have chemicals to stop decay. These chemicals can hurt birds. Avoid using pressure-treated or chemically painted wood.
Use natural, untreated wood only. This keeps the bird house safe and healthy for birds to live in.
Sourcing Affordable Materials
Good wood does not have to be expensive. You can find affordable options near you. Check local places before buying new wood.
| Source | Details |
| Reclaimed wood | Use wood from old furniture or pallets. Make sure it is untreated. |
| Local lumber yards | Find affordable natural wood types. Ask for small cuts. |
| Community wood swaps | Trade or buy wood from neighbors or local groups. |
| Big box stores | Look for sales on pine or spruce boards. |
Essential Tools And Supplies
Building a birdhouse from wood is a fun and rewarding project. You need the right tools and supplies to create a safe home for birds.
This guide covers the basic tools, safety gear, and optional decorative materials you may want to use.
Basic Carpentry Tools Needed
You need simple carpentry tools to cut and assemble wooden parts. These tools help make clean cuts and strong joints.
- Measuring tape for accurate dimensions
- Pencil to mark cutting lines
- Hand saw or jigsaw for cutting wood pieces
- Hammer for nailing parts together
- Nails or wood screws to fasten pieces
- Screwdriver if you use screws
- Sandpaper or sanding block to smooth edges
- Clamps to hold parts while assembling
- Drill to make entrance holes or pilot holes
Safety Gear For Woodworking
Safety is very important when working with wood and tools. Always wear protective gear to avoid injuries.
- Safety glasses to protect your eyes from dust and wood chips
- Work gloves to protect your hands from splinters and sharp tools
- Dust mask to avoid breathing sawdust
- Hearing protection if using loud power tools
- Closed-toe shoes to protect your feet
Optional Decorative Materials
You can decorate your birdhouse to make it look nice. Use safe materials that will not harm the birds.
- Non-toxic paint or wood stain for color
- Brushes or sponges for applying paint
- Wood glue for extra strong joints
- Small wooden shapes or trim for decoration
- Waterproof sealant to protect the wood outdoors
Planning Your Bird House Design
Building a bird house from wood is a fun and rewarding project. Planning your design carefully helps attract the right birds.
Think about the size, shape, and features before you start cutting wood. Good planning makes a better home for birds.
Simple Designs For Beginners
Start with a basic box shape for your bird house. Simple designs are easier to build and clean.
- Use untreated wood for safety
- Include a flat roof to keep rain out
- Make the entrance hole round and smooth
- Keep the house easy to open for cleaning
Sizing For Different Bird Species
Different birds need different sizes of bird houses. The entrance hole size is very important.
| Bird Species | House Width | House Height | Entrance Hole Diameter |
| Chickadee | 4 inches | 8 inches | 1 1/8 inches |
| Bluebird | 5 inches | 10 inches | 1 1/2 inches |
| Wren | 4 inches | 8 inches | 1 inch |
| Tree Swallow | 4 inches | 8 inches | 1 1/2 inches |
Ventilation And Drainage Features
Good airflow and water drainage keep the bird house dry and safe. Add small holes for air and water to escape.
- Drill small holes near the top for ventilation
- Make drainage holes at the bottom to let water out
- Use a slanted roof to help rain run off
- Keep vents away from the entrance to avoid drafts

Credit: 100things2do.ca
Cutting And Preparing Wood Pieces
Cutting and preparing wood pieces is the first step in making bird houses. You need to work carefully to get the right shapes and sizes.
Using the right tools and safety methods helps you create wood pieces that fit well together and last long.
Measuring And Marking Wood
Measure the wood pieces accurately before cutting. Use a ruler or tape measure and mark the lines with a pencil. Clear marks make cutting easier and more precise.
- Use a straight edge to draw lines.
- Double-check measurements before marking.
- Mark all pieces before starting to cut.
Safe Cutting Techniques
Safety is important when cutting wood. Use sharp tools and wear protective gear like safety glasses and gloves. Cut slowly along the marked lines to avoid mistakes.
| Tool | Use | Safety Tip |
| Hand Saw | Simple straight cuts | Keep fingers away from blade |
| Jigsaw | Curved or detailed cuts | Wear eye protection |
| Circular Saw | Long straight cuts | Use push stick for control |
Sanding For Smooth Edges
Sanding removes rough spots and splinters from cut wood. Smooth edges make the bird house safe for birds and easier to assemble.
Follow these sanding tips:
- Use medium-grit sandpaper first to shape edges.
- Finish with fine-grit sandpaper for smoothness.
- Sand all surfaces, including corners and inside edges.
Assembling The Bird House
Building a bird house from wood is a fun project. You need to put the parts together carefully. This guide helps you assemble the bird house step by step.
The main parts are the walls, floor, roof, and entrance. Each part must fit well for the bird house to be safe and strong.
Joining Walls And Floor
Start by attaching the walls to the floor. The floor acts as the base and supports the whole structure. Make sure the edges line up perfectly.
- Place the floor on a flat surface.
- Stand the walls upright around the floor edges.
- Check that corners meet at right angles.
- Use clamps or hold the pieces firmly in place.
Installing Roof And Entrance
The roof protects the bird house from rain and sun. The entrance hole lets birds come inside. Position the roof so it covers all walls well.
| Part | Tip |
|---|---|
| Roof | Overlap edges to keep water out |
| Entrance | Cut a smooth, round hole for easy access |
Securing With Nails Or Screws
Use nails or screws to hold parts together firmly. Screws offer stronger hold but need a drill. Nails work well for quick assembly.
- Align the parts in place.
- Use a hammer for nails or a screwdriver for screws.
- Drive fasteners evenly to avoid splitting the wood.
- Check all corners and edges for tight fit.
- Sand any rough areas near fasteners for safety.

Credit: www.youtube.com
Finishing Touches
Finishing touches make your wooden birdhouse last longer. They also add charm and help protect the wood.
These details complete your project and make it ready for birds to enjoy.
Adding Paint Or Sealant
Use paint or sealant to protect the wood from rain and sun. Choose non-toxic types safe for birds.
Light colors keep the birdhouse cool in summer. Apply thin coats and let each dry well.
- Use water-based, non-toxic paint or sealant
- Apply at least two thin coats for good protection
- Avoid painting inside the birdhouse
- Let each coat dry fully before adding the next
Decorative Elements
Decorations make your birdhouse unique and fun. Keep decorations simple and safe for birds.
Avoid small parts birds could swallow. Use natural materials like twigs or pinecones for a nice look.
- Paint simple patterns or shapes on the outside
- Add small wooden shapes or natural items glued on
- Do not use sharp or toxic decorations
- Keep the entrance clear and easy for birds
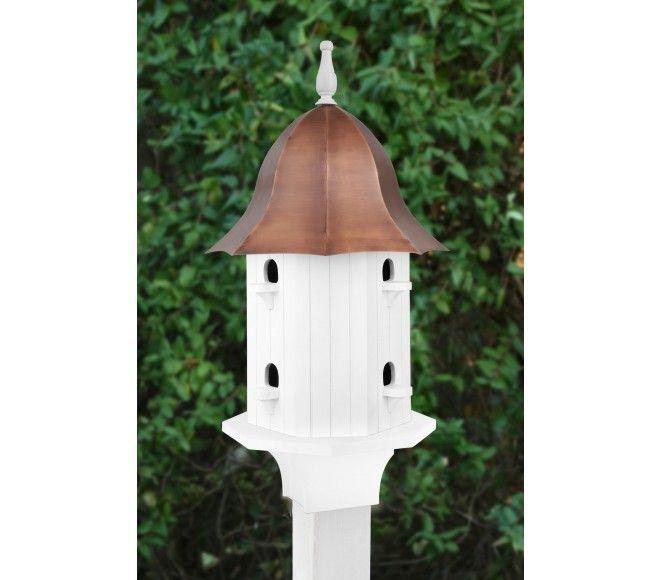
Mounting Options
Choose the right mounting method for safety and stability. Place the birdhouse where birds feel safe.
Mount on a tree, pole, or wall. Make sure it is secure and away from predators.
- Use a sturdy pole with a mounting bracket
- Attach to a tree using straps or screws (avoid tree damage)
- Mount on a wall with strong hooks or screws
- Place birdhouses 5 to 10 feet above ground
- Ensure good ventilation and some shade
Placing And Maintaining Bird Houses
Building bird houses is fun, but placing them right is key. Good placement helps birds feel safe. Maintaining them keeps birds healthy.
Learn where to put your bird houses and how to care for them. Watch birds grow and enjoy nature close by.
Best Locations For Installation
Choose spots that protect birds from wind, rain, and predators. Pick places near trees or shrubs for cover. Avoid busy human areas to keep birds calm.
- Mount bird houses 5 to 10 feet above ground.
- Face the entrance away from prevailing winds.
- Place near food sources like berry bushes or feeders.
- Keep some space between houses to avoid bird fights.
- Use poles or trees for mounting, but avoid shaky branches.
Seasonal Cleaning Tips
Clean bird houses after each nesting season to stop disease and parasites. Use gloves and a mask for safety. Remove old nesting material and scrub with mild soap and water. Rinse well and let dry before reuse.
| Season | Cleaning Task |
| Late Fall | Remove old nests, scrub box inside |
| Early Spring | Check for damage, repair if needed |
| Summer | Monitor for parasites, clean if necessary |
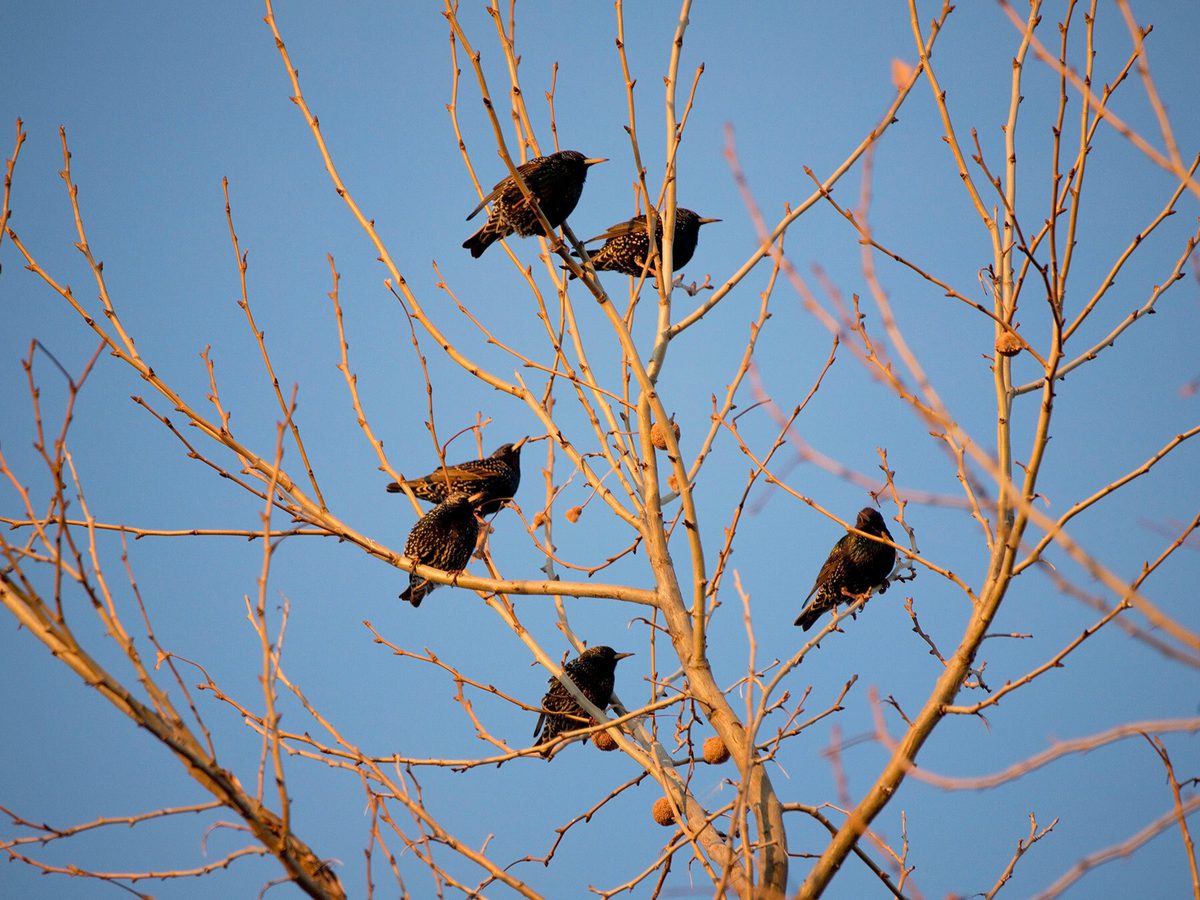
Monitoring Bird Activity
Watch your bird houses to learn about bird habits. Use a notebook or camera to record visits. Look for signs like feeding or nest building. This helps you know if your house is safe and useful.
- Check for eggs or chicks inside the house.
- Note which bird species visit most often.
- Look for damage or wear on the bird house.
- Observe if predators are nearby.
- Keep a regular schedule for watching and cleaning.
Frequently Asked Questions
What Wood Is Best For Making Bird Houses?
Cedar and pine are ideal for bird houses. They resist rot and are safe for birds. Avoid treated wood to prevent toxins.
How Do I Attract Birds To My Wooden House?
Place the bird house in a quiet, shaded area. Add natural materials inside for comfort. Clean regularly to encourage use.
What Size Should A Wooden Bird House Be?
Sizes vary by bird species. Generally, a 6x6 inch floor and 8-12 inch height suits small birds. Adjust entrance hole size accordingly.
How Do I Maintain A Wooden Bird House?
Clean the bird house after each nesting season. Check for damage and repair cracks. Apply non-toxic sealant annually for durability.
Conclusion
Building bird houses from wood is a rewarding hobby. It's simple and enjoyable. With basic tools, you can create a cozy home for birds. Follow the steps, and soon, your garden will be lively with chirping. Remember, each birdhouse adds charm to your outdoor space.
Plus, it helps local wildlife thrive. Gather your materials and start today. You'll feel proud watching birds enjoy their new homes. It’s a small project with a big impact. So grab some wood and your tools. Let creativity take flight.
Enjoy the process and the delightful results.