Are you looking for a simple, fun way to attract colorful birds to your yard? Making bird seed pine cones is an easy craft that anyone can do.
With just a few materials, you can create a tasty treat that brings nature closer to your home. Imagine watching birds gather around your handmade feeders, brightening your day and connecting you to the outdoors. Keep reading, and you’ll discover step-by-step how to make these delightful bird seed pine cones yourself.

Credit: cooknwithmrsg.com
Materials Needed
Making bird seed pine cones is a fun and simple project. You only need a few materials to get started. These items are easy to find at home or in stores.
Gathering the right materials helps you create pine cones that birds will love. Let’s look at what you need for each part of the project.
Choosing Pine Cones
Select pine cones that are dry and open. Avoid cones that are too small or too soft. Larger cones hold more seed and are easier to work with.
- Pick pine cones that are clean and free of dirt
- Choose cones that are fully opened and firm
- Collect cones from safe, pesticide-free areas
Selecting Bird Seed
| Seed Type | Best For |
| Sunflower Seeds | Many small birds |
| Millet | Sparrows and finches |
| Cracked Corn | Doves and pigeons |
| Nyjer Seed | Goldfinches |
Choose seed types that attract your favorite birds. Mixing seeds can also work well. Make sure seeds are fresh and dry.
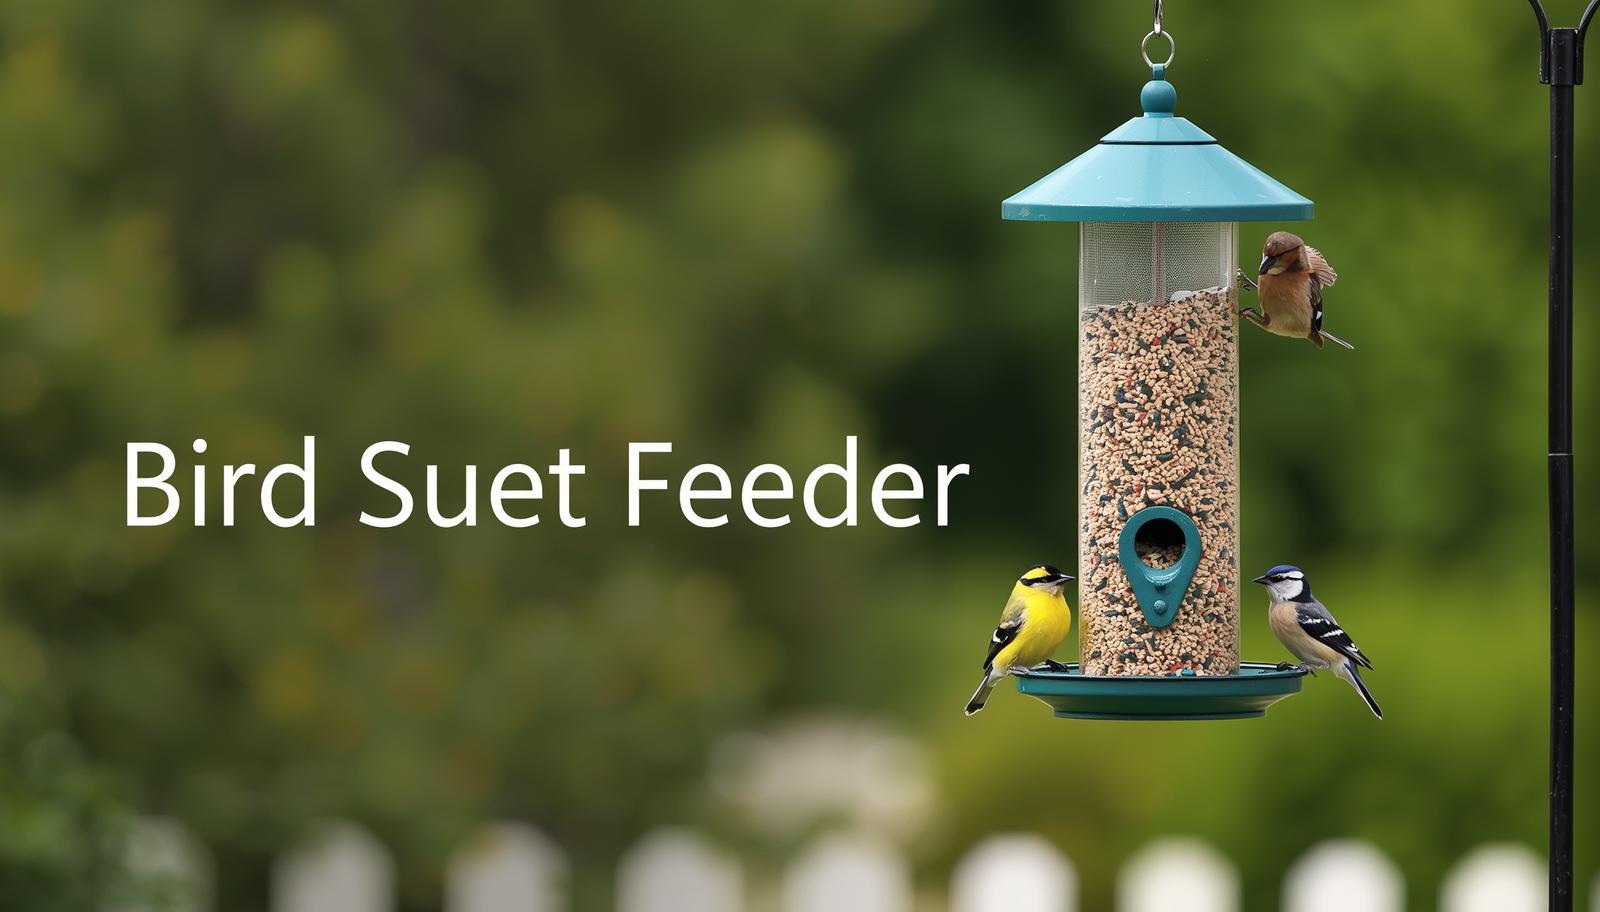
Other Supplies
- Peanut butter or suet to stick seeds to cones
- String or twine to hang the finished cones
- Wax paper or a tray for easy cleanup
- Gloves to keep hands clean
Having these extra supplies ready will make your project easier. Use string to hang your pine cones outside for birds to enjoy.
Preparing Pine Cones
Preparing pine cones is an important step before making bird seed pine cones. It helps keep the cones clean and safe for birds.
Proper preparation makes your pine cones last longer and hold the bird seed better. Follow these simple steps to get started.
Cleaning And Drying
Clean pine cones remove dirt, bugs, and sap. This keeps the bird seed fresh and safe. Drying helps the cones open fully and stops mold.
- Rinse pine cones in warm water with mild soap.
- Shake off excess water and let them drain.
- Place cones on a baking sheet lined with foil.
- Bake in the oven at 200°F (93°C) for 30 minutes.
- Check cones often to avoid burning.
- Let cones cool completely before use.
Attaching A Hanging Loop
Adding a hanging loop lets you hang the pine cones outside for birds to enjoy. Use simple materials like twine or string.
| Material | Instructions |
|---|---|
| Twine or String | Cut a 6-inch piece. Tie it securely around the pine cone top. Make a loop for hanging. |
| Pipe Cleaner | Wrap tightly around the cone stem. Twist ends to form a loop. |
| Ribbon | Use colorful ribbon. Tie a bow and create a loop for hanging. |
Making The Seed Mixture
Making the seed mixture is the first step to create bird seed pine cones. The mixture helps seeds stick to the pine cone. You need a binder that melts and holds the seeds well.
This part is simple and fun. You will melt the binder and mix it with the bird seeds. The mixture should be sticky but not too wet.
Melting The Binder
Choose a binder that melts easily, like peanut butter or suet. Warm it gently to make it soft and easy to mix. Avoid heating too much to keep it safe for birds.
You can melt the binder in a microwave or on a stove using low heat. Stir it often to prevent burning. Once melted, it should be smooth and runny.
Mixing Seed And Binder
Pour the melted binder into a bowl. Add bird seeds slowly while stirring. Mix until all seeds are coated but not dripping.
- Use a spoon or spatula to mix well
- Check the mix is sticky enough to hold seeds
- Add more binder if mixture is too dry
- Add more seeds if mixture is too wet
Coating The Pine Cones
Coating pine cones with bird seed helps create a tasty treat for birds. This step is key to making sure the seeds stick well. Using the right method will make your pine cones last longer outdoors.
Let’s look at how to apply the seed mixture and ensure even coverage. These tips will help you make perfect bird seed pine cones every time.
Applying The Seed Mixture
First, prepare a sticky base by mixing peanut butter or suet with bird seed. Use a spoon or spatula to spread this mixture over the pine cones. Make sure to cover all the scales well, pressing the seeds gently to help them stick.
- Use gloves to keep your hands clean.
- Spread the mixture evenly on all sides of the pine cone.
- Press seeds firmly but carefully into the sticky base.
- Cover small gaps to avoid seed loss later.
- Work quickly before the mixture hardens.
Ensuring Even Coverage
Even coverage helps birds access seeds easily and keeps the pine cone balanced. Turn the pine cone often while coating to reach all areas. Let the coated pine cones rest on wax paper to dry without sticking.
| Tip | Reason |
|---|---|
| Turn pine cones while coating | Ensures all sides get seeds |
| Rest on wax paper | Prevents sticking during drying |
| Use enough seed mixture | Keeps seeds from falling off |
| Let dry fully before hanging | Improves seed hold |
Drying And Setting
After coating your pine cones with bird seed and a sticky binder, it is important to let them dry properly. This step helps the seeds stay attached and makes the pine cones ready to hang outside.
Drying time and good drying conditions affect how well the bird seed pine cones hold together. Follow these tips to get the best results.
Drying Time
Let your pine cones dry in a warm, dry place with good air circulation. It usually takes about 24 to 48 hours for them to dry fully. Avoid places that are too humid or cold, as this can slow down drying and cause the seeds to fall off.
Tips For Best Results
- Place pine cones on wax paper or newspaper to catch any drips.
- Turn pine cones occasionally to dry all sides evenly.
- Keep them out of direct sunlight to prevent glue from melting.
- Use a fan for better air flow if drying indoors.
- Store dried pine cones in a cool, dry place until you are ready to hang them outside.

Credit: www.firefliesandmudpies.com
Hanging Your Bird Feeder
Hanging your bird seed pine cone feeder is a fun way to bring birds to your yard. Picking the right spot helps birds find food safely.
Make sure to hang the feeder where birds feel safe and can easily reach it. This helps them enjoy their meal without stress.
Choosing The Location
Pick a spot that is easy to reach but not too close to busy areas. Birds like quiet places with some cover nearby.
Hang the feeder near trees or bushes. These provide shelter and a place for birds to rest after feeding.
- Choose a shady spot to keep seeds fresh longer
- Hang the feeder 5-6 feet above the ground
- Avoid windy places where cones can blow away
- Keep feeders away from windows to prevent bird collisions
Safety Tips For Birds
Make sure the feeder is safe and clean for birds. Dirty feeders can spread diseases quickly.
Use strong string or wire to hang the pine cones so they do not fall. Check the feeder often and clean it regularly.
- Wash feeders every two weeks with mild soap and water
- Keep the area under the feeder clean to avoid pests
- Do not use toxic glue or materials when making feeders
- Replace old seeds to prevent mold and bacteria
Maintaining Your Bird Feeders
Taking care of your bird feeders keeps birds healthy and coming back. Clean feeders stop diseases from spreading.
Refilling feeders properly helps birds find fresh food. Reusing materials saves money and helps the environment.
Cleaning Tips
Wash your bird feeders every two weeks to keep them safe. Use hot water and mild soap to remove dirt and mold.
Rinse feeders well after cleaning. Let them dry completely before adding new seed or pine cones.
- Wear gloves to protect your hands
- Use a brush to scrub small parts
- Do not use bleach near birds
- Dry feeders in the sun if possible
Refilling And Reusing
Refill your bird feeders with fresh seeds regularly. Old seeds can spoil and make birds sick.
Reuse pine cones by cleaning them well before adding new seed mix. This keeps birds safe and saves resources.
- Remove old seed mix completely
- Clean pine cones with warm water only
- Let pine cones dry before refilling
- Store extra seeds in a dry place
Credit: www.upstartmag.co.nz
Frequently Asked Questions
What Materials Do I Need For Bird Seed Pine Cones?
You need pine cones, peanut butter or suet, bird seed, and string. These simple materials create an easy bird feeder that attracts birds.
How Do I Attach Bird Seed To Pine Cones?
Spread peanut butter or suet evenly on pine cone scales. Roll the pine cone in bird seed until well-coated. Let it set before hanging.
Can Children Safely Make Bird Seed Pine Cones?
Yes, children can safely make bird seed pine cones with adult supervision. It’s a fun, educational outdoor craft that teaches about birds and nature.
Where Should I Hang Bird Seed Pine Cones?
Hang pine cones in trees or near windows where birds visit. Choose sheltered spots to protect from wind and rain for longer-lasting feeders.
Conclusion
Creating bird seed pine cones is simple and rewarding. Birds love them, and you enjoy watching. Gather materials and follow easy steps. It's a fun project for families or solo. Plus, it's a great way to help local birds. They'll return for more, making your garden lively.
You also learn about different bird species. So, try making these natural feeders today. A small effort, big impact. Enjoy the peace and joy of birdwatching. Happy bird feeding!