Terra Cotta DIY Bird Bath 2026 Guide Easy Garden Ideas
Looking to add a touch of charm to your garden while helping your feathered friends? Creating a terra cotta DIY bird bath might be just what you need.
Imagine stepping into your backyard and seeing birds splashing around in a beautiful, handcrafted piece that you’ve made yourself. Not only does a bird bath bring life and movement to your outdoor space, but it also provides essential water for birds during hot days.
With a few simple steps, you can design a stunning focal point that blends seamlessly with nature. Plus, working with terra cotta is easier than you think, making this project perfect for both beginners and seasoned DIY enthusiasts. Ready to transform your garden into a delightful haven for birds and a visual treat for yourself? Let's dive into the simple steps to create your very own terra cotta bird bath.

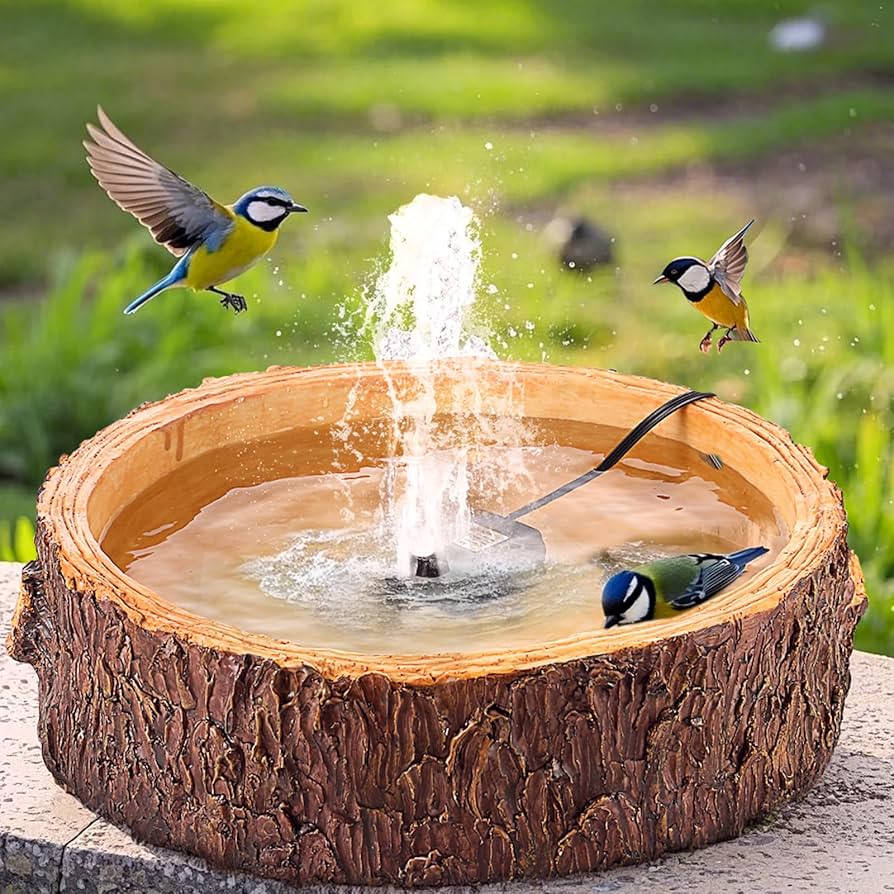
Credit: happygardens.com
Choosing Terra Cotta Pieces
Building a bird bath with terra cotta pieces is fun and creative. Picking the right pieces helps your bird bath last long and look nice.
Focus on choosing pots and saucers that fit well together and stay stable. These choices make your bird bath safe for birds.
Selecting Pots And Saucers
Pick pots and saucers that match in style and size. The saucer should hold water and fit the pot well. Look for smooth edges to keep birds safe.
- Choose shallow saucers to hold water without spilling
- Match pot and saucer sizes for balance
- Use pots with a wide rim for stability
- Check for cracks or chips before buying
Checking For Stability And Size
Make sure your terra cotta pieces fit firmly together. A stable base keeps the bird bath from tipping over in wind or when birds land.
Choose sizes that stack well and support each other. The bottom piece should be the largest and heaviest to hold the weight above.
- Test the balance of stacked pots before assembling
- Use heavy pots at the bottom for support
- Pick saucers wide enough to hold water safely
- Avoid very tall stacks that can fall easily

Credit: www.birdwatchingdaily.com
Gathering Tools And Materials
Creating a terra cotta DIY bird bath is a fun and simple project. Before starting, gather all the tools and materials you need.
Having everything ready helps the process go smoothly and makes your bird bath look great.
Essential Supplies List
These supplies are important to build a sturdy and safe bird bath using terra cotta pots and saucers.
- Terra cotta pots (one large and one small for stability)
- Terra cotta saucer (to hold water)
- Strong waterproof adhesive or outdoor glue
- Sandpaper (to smooth rough edges)
- Waterproof sealant (to protect the pots)
- Protective gloves (for handling glue and sealant)
- Newspaper or plastic sheet (to protect your work surface)
Optional Decorative Items
You can add decorations to make your bird bath more attractive. These items are optional but add a nice touch.
- Colorful outdoor paint or acrylic paint
- Small stones or pebbles for decoration
- Mosaic tiles or broken china pieces
- Outdoor stickers or waterproof decals
- Clear epoxy resin for a shiny finish
- Paintbrushes of different sizes
Preparing The Terra Cotta
Preparing your terra cotta pots is important for a strong bird bath. You must clean and seal the pots well. This stops damage from water and dirt.
Good preparation makes your bird bath last longer. It also keeps the water clean for birds.
Cleaning And Drying Pots
Start by washing the pots with warm water. Use a soft brush to remove dirt and dust. Avoid harsh chemicals that can hurt the clay.
After cleaning, dry the pots completely. Place them in sunlight or a warm room. Drying stops mold and keeps the pots strong.
- Use warm water and a soft brush
- Remove all dirt and dust
- Do not use strong chemicals
- Dry pots fully in the sun or indoors
Sealing To Prevent Water Absorption
Terra cotta pots soak up water if not sealed. This can make them crack or break. Use a sealant to protect the pots from water damage.
Apply a waterproof sealant inside and outside the pots. Let the sealant dry well before using the pots. This helps your bird bath stay safe and clean.
- Choose a waterproof sealant for terra cotta
- Apply sealant inside and outside the pots
- Let the sealant dry fully before use
- Repeat sealing if needed for extra protection
Assembling The Bird Bath
Building a terra cotta bird bath is a fun project. It adds charm to your garden and helps birds stay cool.
Careful assembly ensures your bird bath stays strong and stable. Follow the steps below to assemble it properly.
Stacking And Gluing Pieces
Start by choosing the right terra cotta pieces for your bird bath. Stack them from largest at the bottom to smallest at the top.
Use a strong outdoor adhesive made for terra cotta. Apply glue evenly on the contact surfaces before stacking each piece.
- Clean each piece before gluing
- Apply glue on the edges only
- Press pieces firmly to bond
- Allow glue to dry completely
Ensuring Balance And Durability
Make sure the bottom piece sits flat on the ground. Check that each layer is centered to keep the bird bath balanced.
For extra durability, avoid placing the bird bath where strong winds hit. Seal the surface with a water-resistant sealant to protect it.
- Place on level ground
- Align pieces carefully
- Use sealant to prevent water damage
- Check stability before use
Adding Decorative Touches
Decorating a terra cotta DIY bird bath makes it more beautiful. You can add colors and natural items.
These touches help your bird bath stand out in your garden. They also attract more birds.
Painting And Finishing Ideas
Paint your terra cotta bird bath with weatherproof paint. Use bright colors or soft pastels.
Add patterns like dots, stripes, or leaves to make it unique. Finish with a clear sealant to protect the paint.
- Use acrylic or outdoor paint for lasting color
- Try nature-inspired colors like green, blue, or brown
- Seal the paint to protect from rain and sun
- Let each paint layer dry before adding another
Incorporating Natural Elements
Add stones, shells, or small plants around the bird bath base. These items blend the bath with your garden.
You can glue small pebbles or use moss on the edges. Natural elements give a soft, earthy look.
- Glue smooth stones around the rim for texture
- Place small potted plants nearby for color
- Add shells for a coastal theme
- Use moss for a green, natural feel
Placing Your Bird Bath In The Garden
A terra cotta DIY bird bath adds charm and helps birds stay hydrated. Proper placement is important for birds’ safety and comfort.
Choosing the right spot also makes your garden look inviting and lively. Think about sunlight, safety, and visibility.
Choosing The Ideal Location
Select a quiet spot where birds feel safe from predators. Look for a place with some shade during hot hours.
Avoid placing the bird bath near busy paths or noisy areas. Make sure it is easy to see from your window.
- Place near shrubs or trees for bird cover
- Keep away from places with heavy foot traffic
- Choose a level surface to keep water steady
- Position where sunlight warms the water but not all day
Maintaining And Cleaning Tips
Clean your bird bath regularly to keep water fresh and safe for birds. Dirty water can spread diseases among birds.
Empty and scrub the bath with a brush every few days. Use mild soap and rinse well to remove all soap.
- Refill with fresh water daily, especially in summer
- Remove leaves and debris often
- Use a small amount of vinegar to help clean
- Check for cracks in the terra cotta and fix if needed
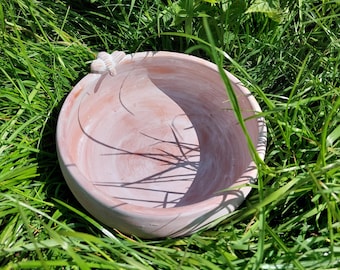
Credit: www.etsy.com
Frequently Asked Questions
How Do I Make A Terra Cotta Diy Bird Bath?
Start with a clean terra cotta pot and saucer. Seal the pot to prevent water leakage. Fill the saucer with water and place it upside down on the pot. Add water to the top saucer as the bird bath basin.
What Materials Are Needed For Terra Cotta Bird Baths?
You need a terra cotta pot and saucer, waterproof sealant, sandpaper, and outdoor paint. Optionally, add decorative stones or mosaic tiles for embellishment.
How To Maintain A Terra Cotta Bird Bath?
Change water frequently to keep it fresh. Clean the bird bath weekly with mild soap and water. Avoid harsh chemicals to protect birds and the pot’s finish.
Can Terra Cotta Bird Baths Withstand Outdoor Weather?
Yes, but terra cotta is porous and can crack in freezing temperatures. Seal the pot properly and bring it indoors during winter to prolong its life.
Conclusion
Creating a terra cotta DIY bird bath is simple and fun. It brings birds closer to your garden. You can enjoy watching them every day. The materials are easy to find and affordable. This project adds beauty and life to your outdoor space.
Birds will stay safe and refreshed near your home. Try making one and see the difference. Small efforts can bring big joy to nature lovers. Give your garden a charming, natural touch today.