How to Build a Bird Stand Perch That Birds Love
Are you looking to give your feathered friends a cozy spot to rest and play? Building a bird stand perch is easier than you might think, and it can bring more life and joy to your outdoor space.
Imagine watching colorful birds land, perch, and sing right in your backyard. In this guide, you’ll discover simple steps to create a sturdy, attractive bird stand perch that suits your needs. Keep reading, and by the end, you’ll have all the tips you need to welcome more birds to your home.
Choosing The Right Location
Picking the right spot for your bird stand perch is very important. Birds need a safe and comfortable place to rest. The location affects their safety and how often they will use the perch.
This guide helps you find the best place to set up your bird stand perch. Focus on safety, height, space, and weather protection for a happy bird visitor.
Consider Safety And Accessibility
Choose a spot where birds feel safe from predators. Avoid places near busy roads or areas with many cats. Also, pick a place where you can easily reach the perch for cleaning and refilling food or water.
- Keep the perch away from windows to prevent bird collisions.
- Place it near trees or bushes for quick bird escape routes.
- Make sure it is easy for you to access for maintenance.
Select Ideal Height And Space
The height of the perch matters for bird comfort and safety. Too low can attract predators; too high might be hard for birds to land on. Also, give enough space around the perch so birds can move freely.
| Height | Reason | Recommended Space Around |
|---|---|---|
| 4 to 6 feet | Safe from most ground predators | 3 to 4 feet clear area |
| Above 6 feet | Better for shy birds but harder to reach | 4 to 5 feet clear area |
Avoid Harsh Weather Spots
Protect birds from strong wind, heavy rain, and direct sun. Place the perch in a spot with some natural cover or near a wall that blocks harsh weather. This will keep birds comfortable and coming back.
- Use nearby trees or shrubs as windbreaks.
- Place the perch in partial shade during hot days.
- Avoid low spots where water can collect after rain.
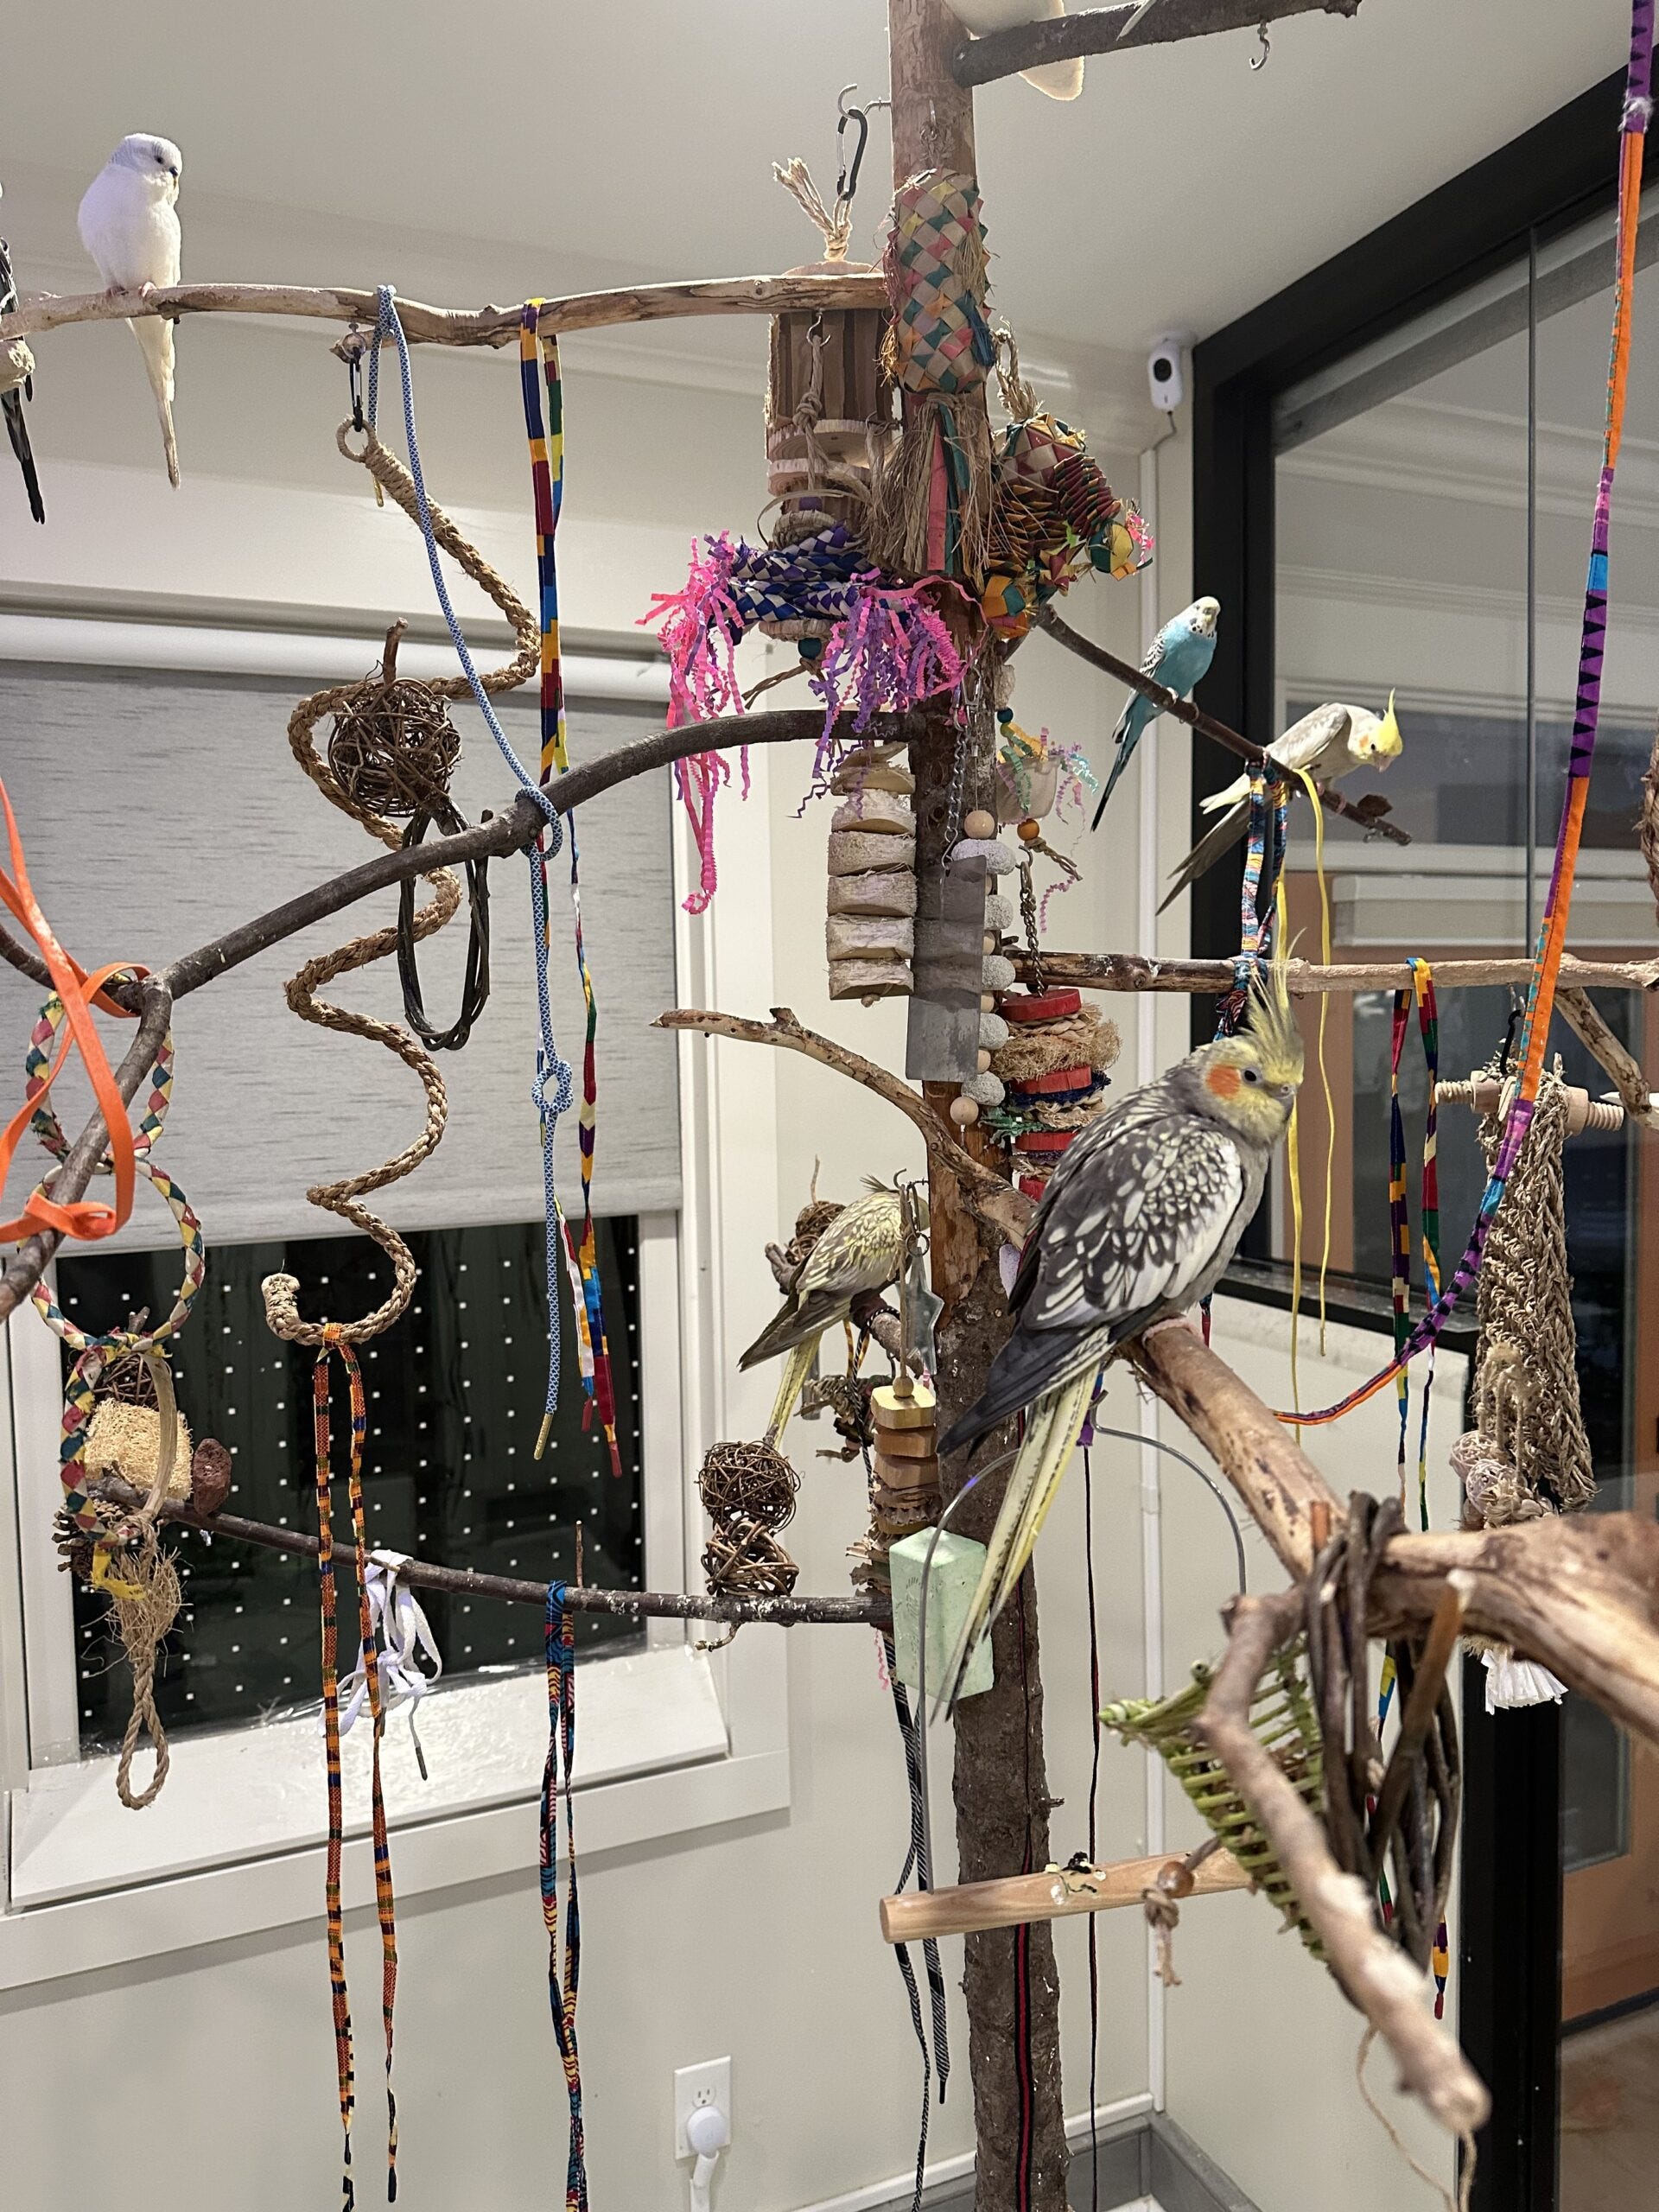
Credit: freerangeparrots.org
Gathering Materials And Tools
Building a bird stand perch needs the right materials and tools. Good preparation helps the project go smoothly.
This guide covers wood types, hardware, and tools you need to start building your bird stand perch.
Essential Wood Types
Choose wood that lasts outdoors and is safe for birds. Cedar is light and resists rot. Pine is easy to work with but needs sealing. Redwood is strong and naturally weatherproof.
Required Hardware
- Galvanized screws to prevent rust
- Wood glue for extra strength
- Sandpaper to smooth rough edges
- Metal brackets for stable joints
- Waterproof sealant to protect wood
Tools Checklist
| Tool | Purpose |
|---|---|
| Hand saw or power saw | Cut wood to size |
| Drill | Make holes and drive screws |
| Screwdriver | Tighten screws |
| Measuring tape | Msteady easure wood pieces |
| Clamps | Hold wood while working |
| Paintbrush | Apply sealant |
Designing Your Bird Stand
Designing a bird stand perch is an important step to help birds feel safe and comfortable. A well-designed stand offers space for birds to rest and enjoy their surroundings.
Think about the style, size, and added features before building your bird stand. These choices will affect how birds use the perch.
Simple Vs. Complex Designs
Simple bird stands use basic shapes and few parts. They are easy to build and clean. Complex designs have more parts and decorations. They may include multiple perches and platforms.
Simple stands work well for small spaces and beginners. Complex stands offer more activity and comfort for birds but need more time to make.
- Simple designs use fewer materials
- Complex designs can include swings or ladders
- Simple stands are easier to move
- Complex stands may attract more bird attention
Perch Size And Shape
Choose perch sizes that fit the birds you want to attract. Small birds need thinner perches. Larger birds need thicker perches to grip well.
Round or natural branch shapes are best. Birds like to hold onto shapes that feel like tree branches. Avoid sharp edges or slippery surfaces.
- Use ¾ to 1 inch diameter perches for small birds
- Use 1 to 2 inch diameter perches for larger birds
- Natural wood branches provide good grip
- Keep perch surfaces smooth but not slippery
Incorporating Feeding Areas
Adding feeding areas to your bird stand makes it more inviting. Place feeders near perches so birds can eat comfortably. Use trays or small containers to hold food.
Make sure feeding areas are easy to clean. Keep them away from wet spots to avoid mold or bacteria growth.
- Attach small food trays close to perches
- Use removable containers for easy cleaning
- Place feeders in shaded spots if possible
- Keep water dishes separate but nearby
Building The Frame
Building a bird stand perch starts with creating a strong frame. The frame supports the entire perch and keeps it stable. You will need wood pieces cut to the right size and shapes.
This guide covers cutting wood pieces, assembling the base, and securing the structure. Follow each step carefully for a durable frame.
Cutting Wood Pieces
Use softwood like pine or cedar for easy cutting and light weight. Measure and mark your wood before cutting to ensure accuracy. You will need pieces for the base, vertical supports, and the perch bar.
- Two long pieces for the base (about 24 inches each)
- Four vertical support pieces (about 18 inches each)
- One horizontal perch bar (about 16 inches)
- Additional small pieces for braces if needed
Assembling The Base
Lay the two base pieces flat on a work surface. Attach the vertical supports at each corner using screws or nails. Make sure the supports are upright and aligned. This base will keep the stand steady.
| Piece | Length (inches) | Purpose |
| Base pieces | 24 | Support foundation |
| Vertical supports | 18 | Hold perch bar |
| Perch bar | 16 | Bird landing spot |
| Braces | Varies | Reinforce stability |
Securing The Structure
Attach the perch bar between the top of the vertical supports. Use wood glue and screws for a strong hold. Add braces diagonally between the base and supports to prevent wobbling. Check all connections for tightness.
- Use a drill to make pilot holes before screwing to avoid splitting wood.
- Sand rough edges to prevent injury to birds.
- Apply a non-toxic finish if desired for weather protection.
Adding The Perches
Adding perches to your bird stand is key for your birds’ comfort and activity. Good perches let birds rest and play safely.
Choose the right materials, place them well, and make sure they stay stable. This helps your birds enjoy their stand.
Choosing Perch Materials
Use natural wood for perches. It feels good for birds’ feet and is safe to chew.
Avoid smooth or painted materials. They can be slippery or toxic for birds.
- Hardwoods like oak or maple work well
- Branches with different thicknesses add variety
- Sand the wood to remove sharp edges
Positioning For Comfort
Place perches at different heights to encourage movement. Birds like to hop between levels.
Leave enough space around each perch. Birds need room to stretch wings and turn around.
- Keep perches away from walls to avoid crowding
- Position near toys for fun and exercise
- Make some perches close to feeding areas
Ensuring Stability
Secure each perch tightly to the stand. Loose perches can cause falls or injuries.
Check the stand regularly. Tighten or adjust perches to keep them steady.
- Use screws or strong nails for fixing perches
- Test each perch by pressing down before use
- Replace any worn or broken parts quickly
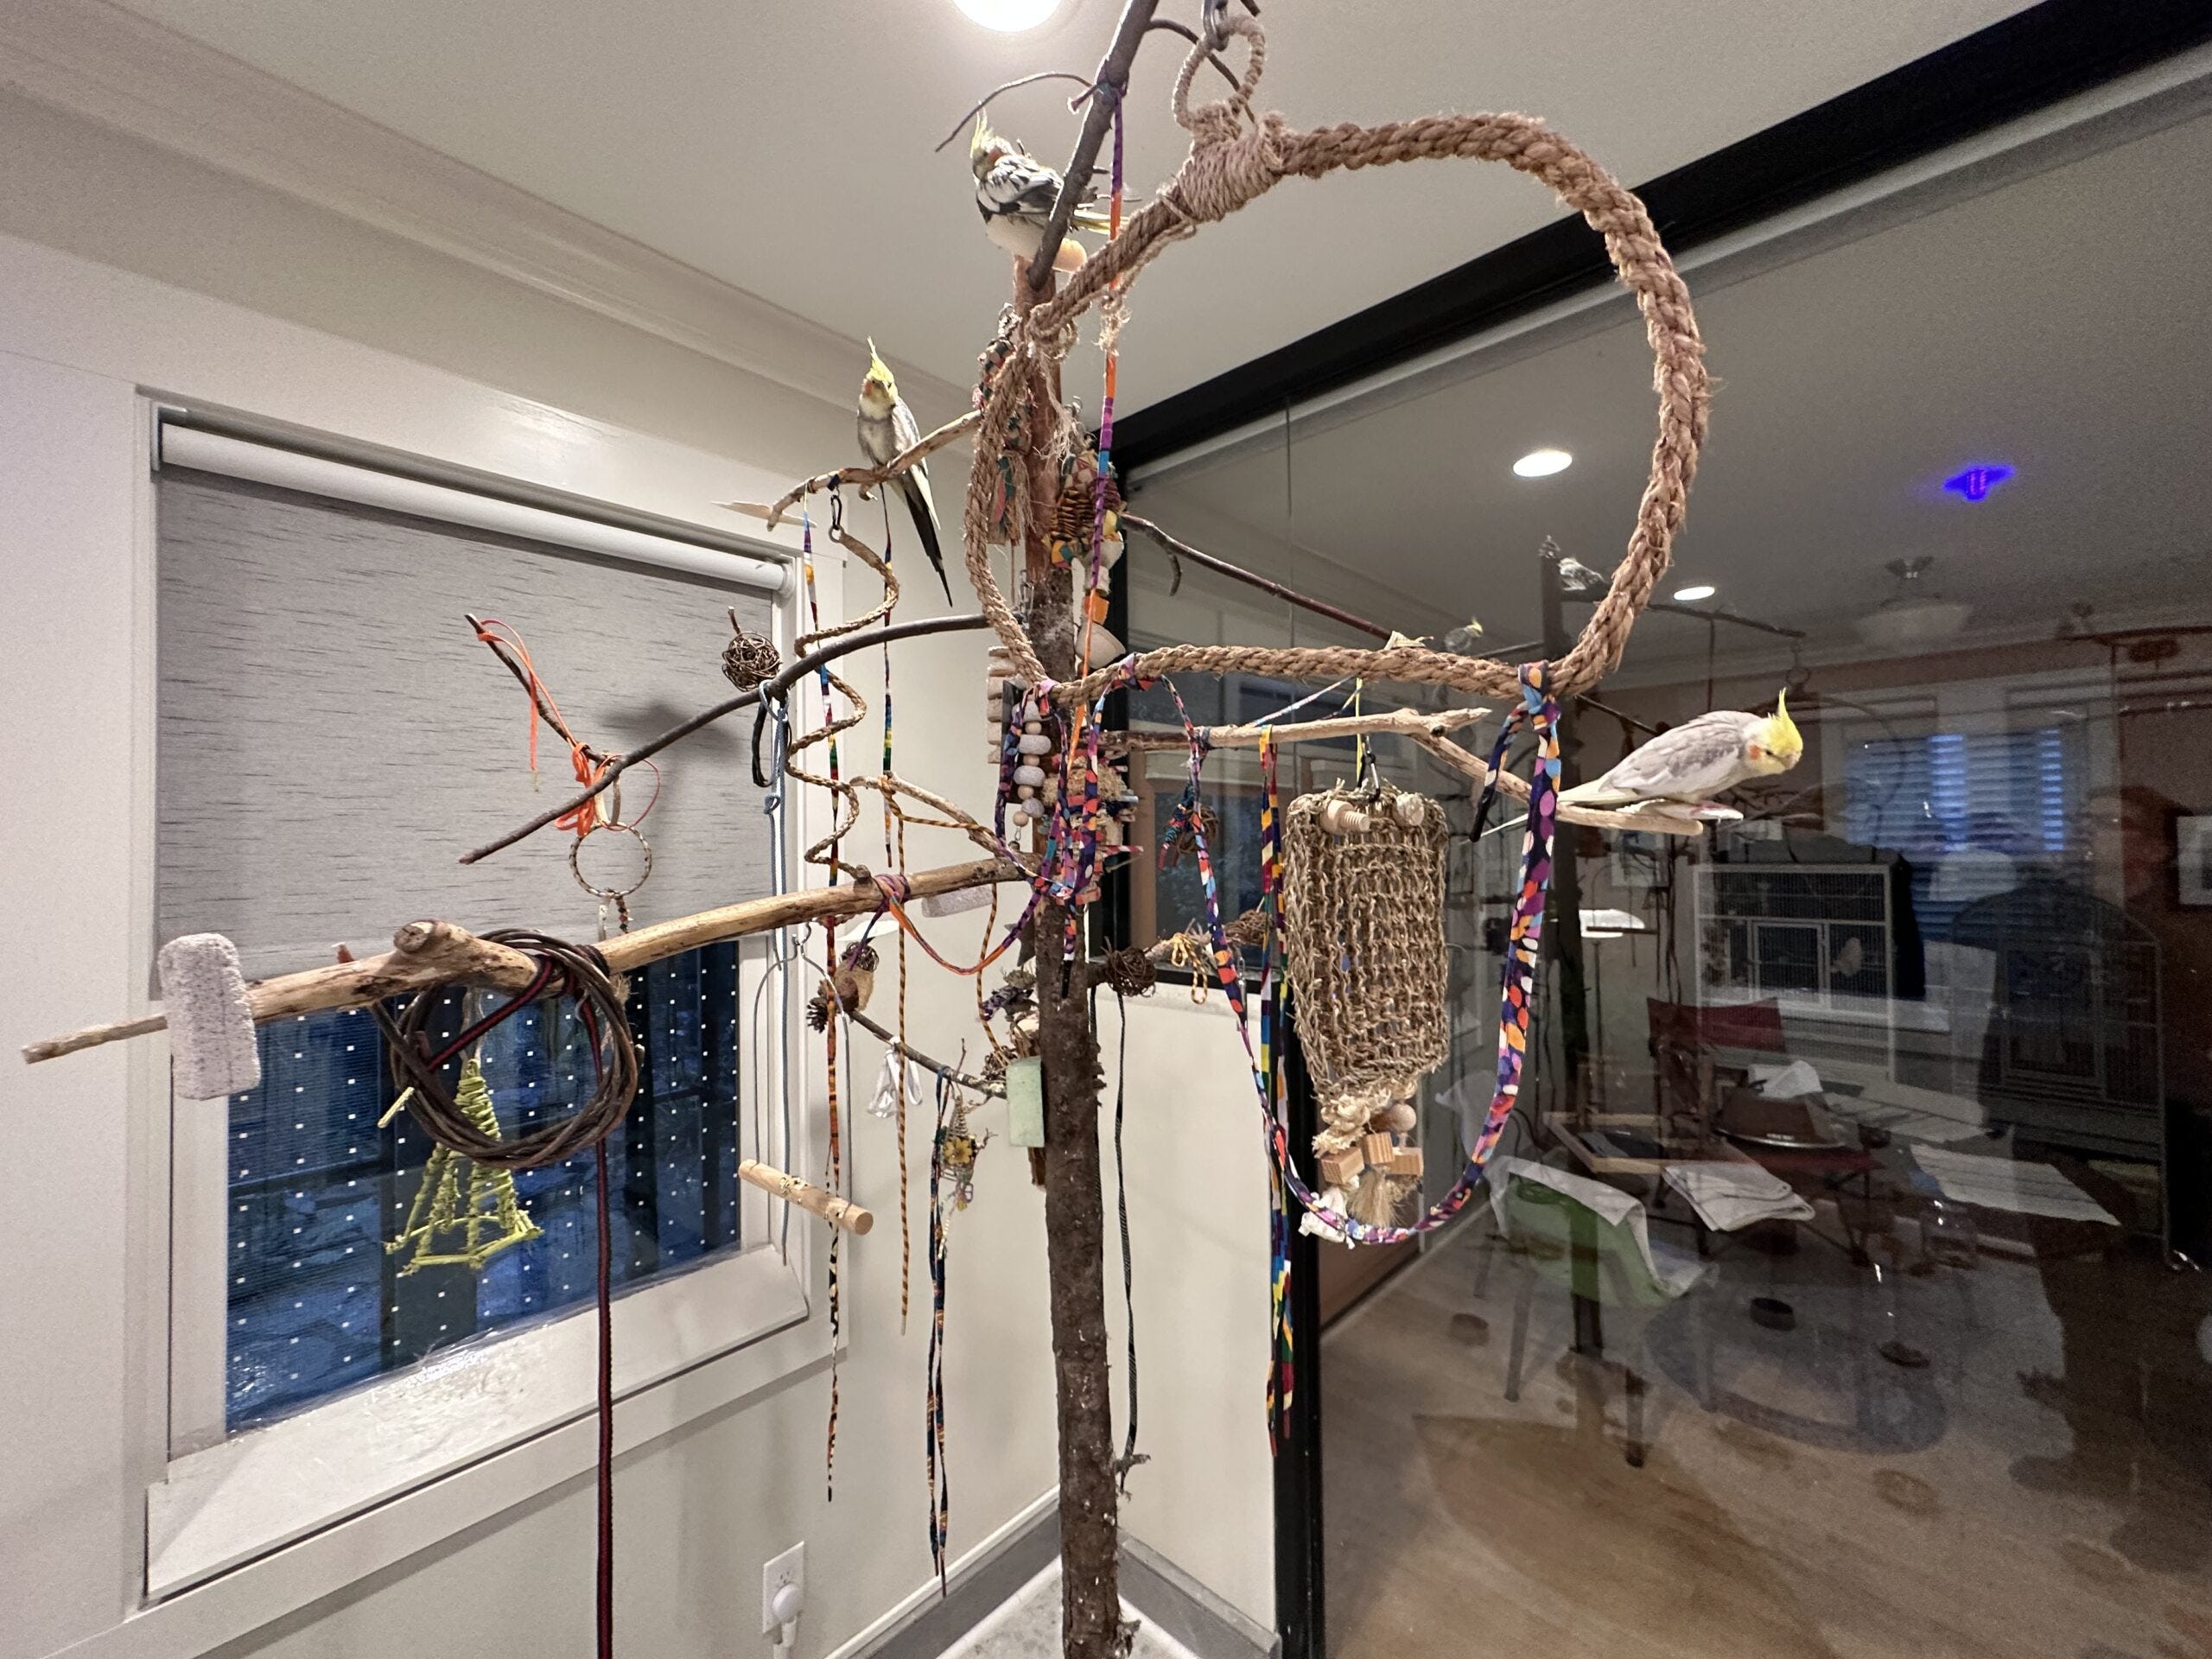
Credit: freerangeparrots.org
Finishing Touches
Finishing your bird stand perch well makes it safe and attractive. This stage improves its look and protects the wood. Use careful methods to ensure a smooth, durable finish.
Focus on sanding, painting, and adding details that suit your style. These steps help your bird stand last longer outdoors.
Sanding And Smoothing
Start by sanding the entire bird stand perch. Use fine-grit sandpaper for a smooth surface. Sand edges and corners well to avoid splinters.
- Sand all surfaces evenly
- Remove dust with a clean cloth
- Check for rough spots and sand again if needed
- Make sure the perch is smooth to touch
Applying Safe Paint Or Sealant
Choose non-toxic paint or sealant safe for birds. This protects the wood from weather and wear. Apply thin, even coats for the best result.
| Type | Purpose | Dry Time |
| Water-based paint | Color and protection | 1-2 hours |
| Non-toxic sealant | Waterproof and safe finish | 4-6 hours |
| Natural oil finish | Enhance wood grain, protect | 24 hours |
Adding Decorative Elements
Decorate your bird stand perch to make it unique. Use natural items or bird-safe materials. Keep decorations simple and secure.
- Attach small pine cones or twigs with glue
- Wrap a colorful but safe ribbon around the base
- Paint simple patterns with non-toxic paint
- Add a small hanging bell for sound
Maintaining The Bird Stand
Keeping your bird stand clean and safe is important for birds. Regular care helps the stand last longer.
Simple maintenance prevents problems and keeps birds comfortable on their perch.
Regular Cleaning Tips
Clean the bird stand often to remove dirt and droppings. This stops bacteria and keeps birds healthy.
Use mild soap and water. Avoid harsh chemicals that can harm birds. Rinse well and dry before use.
- Wipe down the surface weekly
- Remove and wash any removable parts
- Check for mold or mildew
- Dry completely to prevent wood damage
Inspecting For Wear And Damage
Check the bird stand for cracks, loose nails, or splinters. These can hurt birds or make the stand unsafe.
Fix small problems quickly to avoid bigger repairs. Replace broken parts if needed to keep it strong.
- Look for cracked wood or peeling paint
- Test the stability of the stand
- Tighten screws and nails
- Smooth rough spots with sandpaper
Seasonal Adjustments
Change the bird stand setup to fit each season. Weather can affect the wood and comfort for birds.
Protect the stand from rain and snow in cold months. Add shade or move it to a cooler spot in summer.
- Apply waterproof sealant before rainy seasons
- Move the stand to a sheltered area in winter
- Provide shade or ventilation in hot weather
- Remove snow or ice promptly
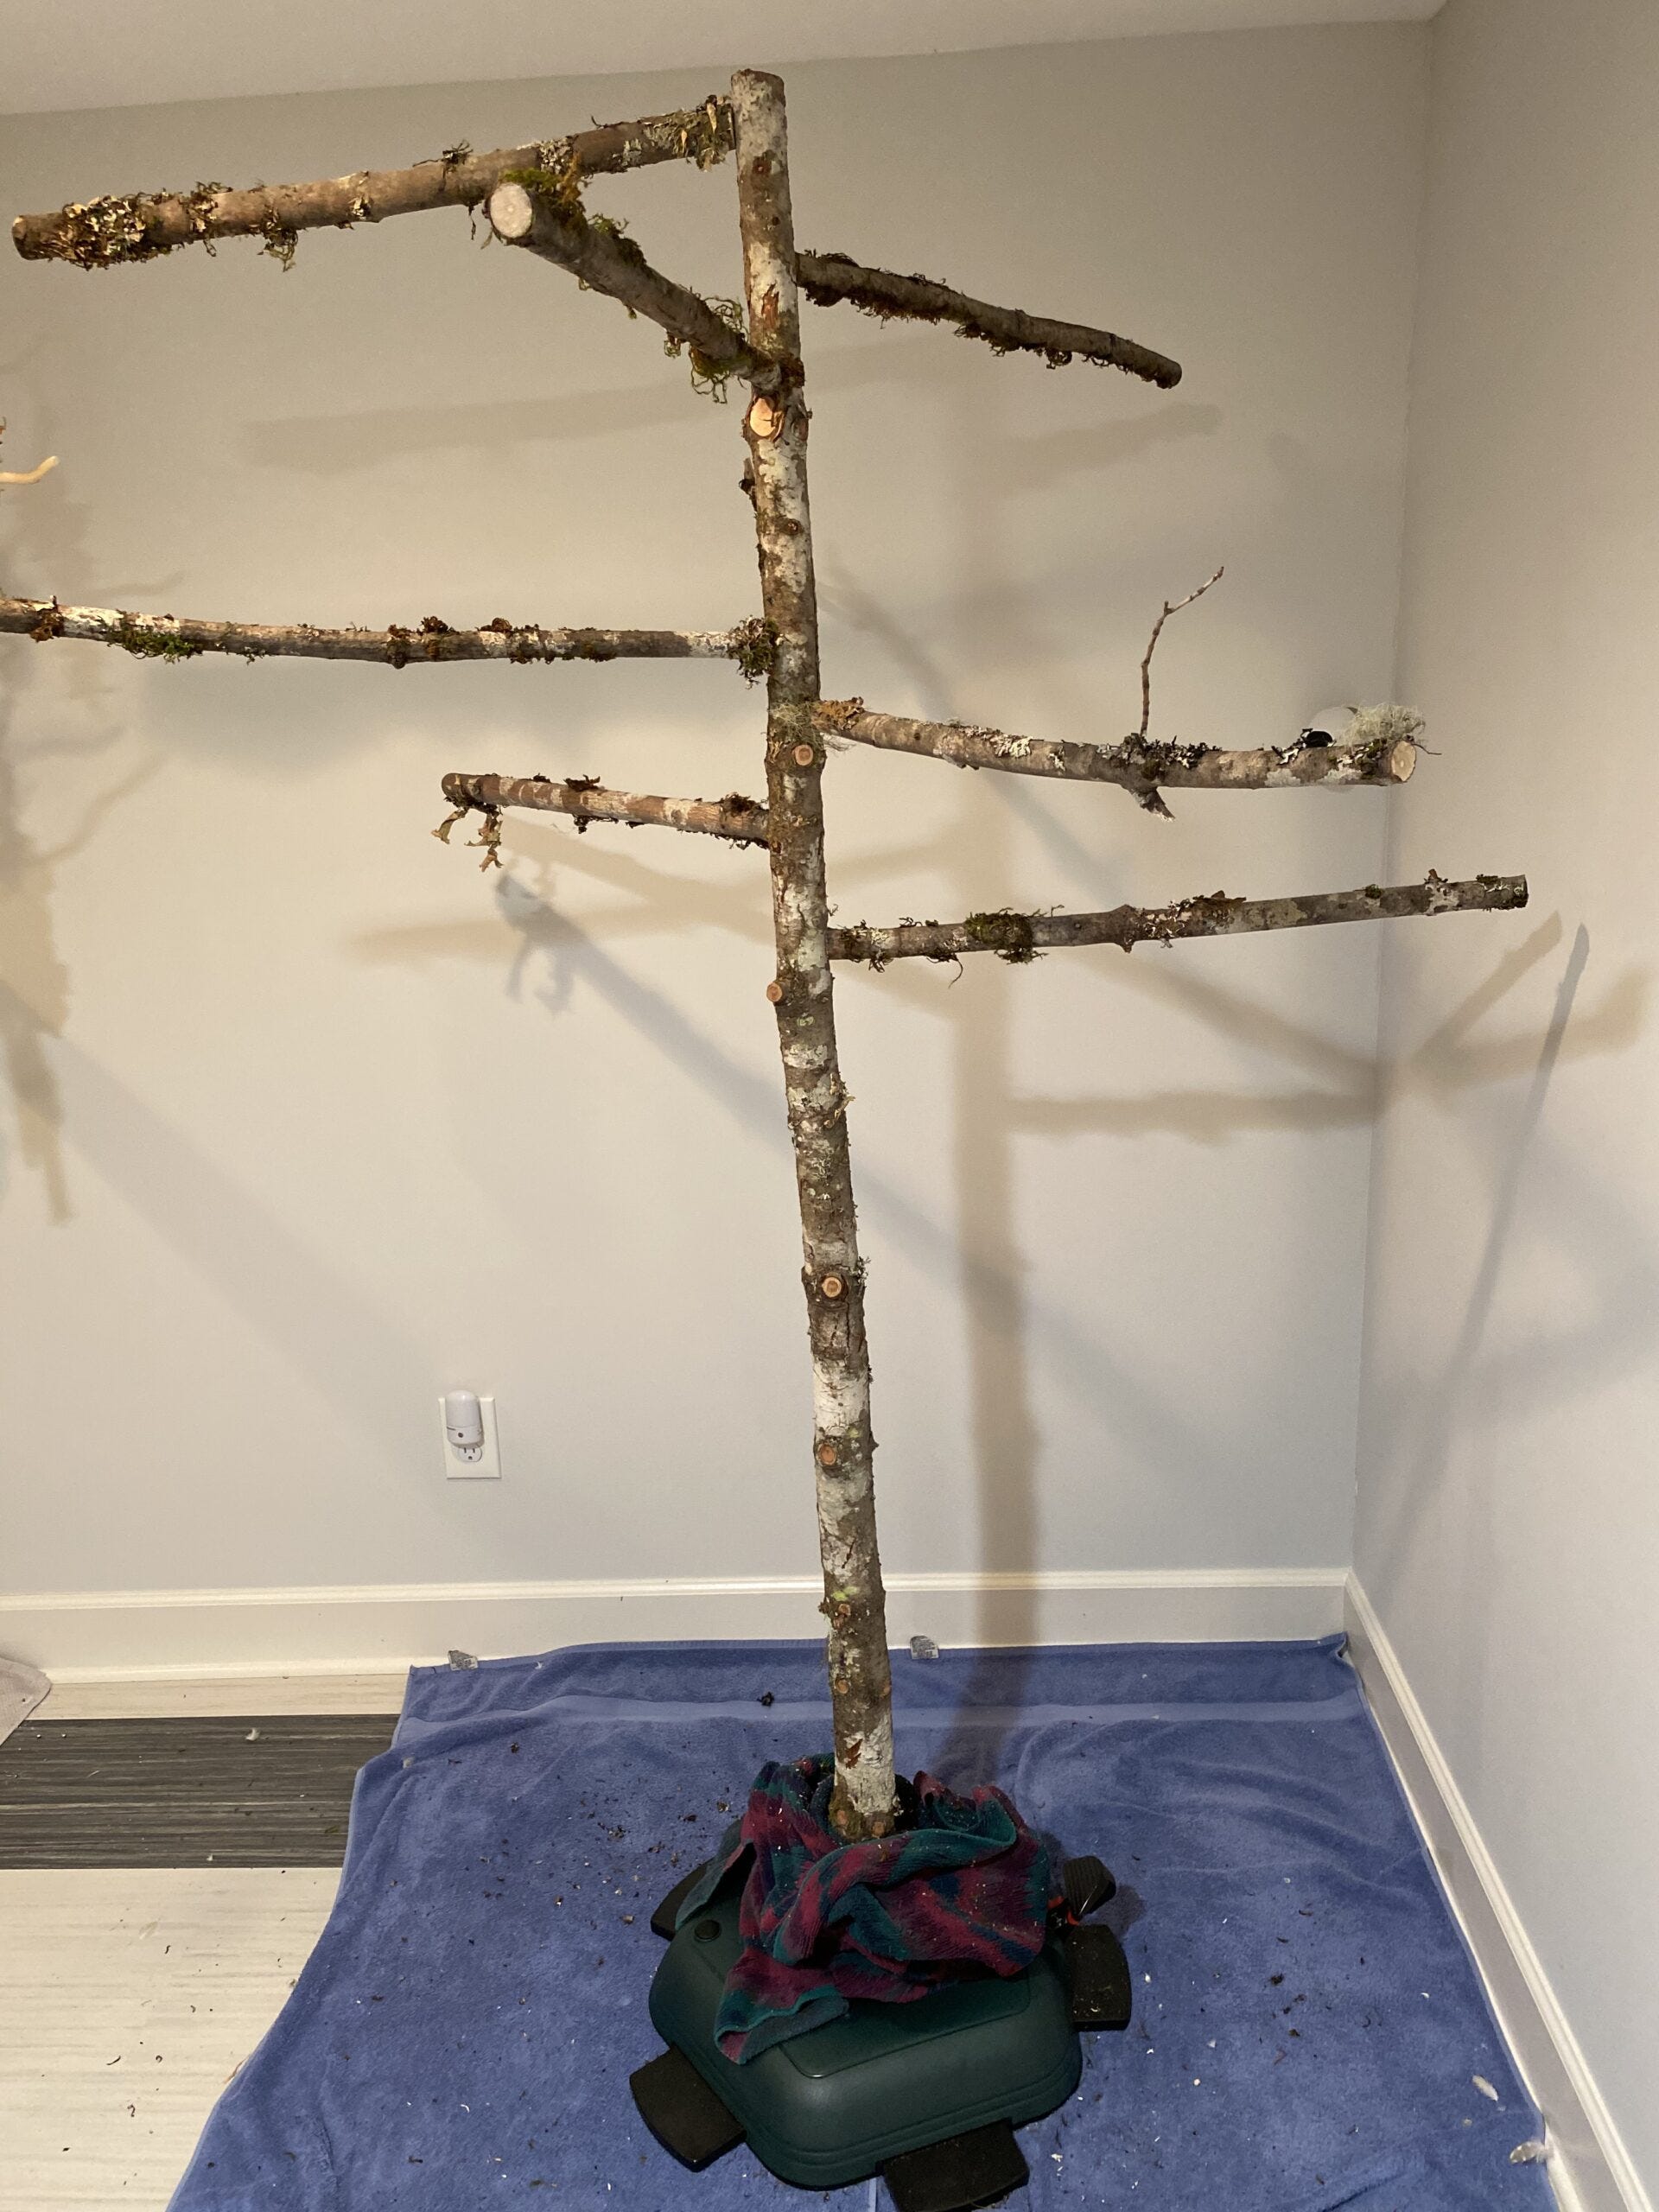
Credit: freerangeparrots.org
Frequently Asked Questions
What Materials Are Needed To Build A Bird Stand Perch?
How Do I Make A Bird Perch Stable And Safe?
Choose a wide, heavy base to prevent tipping. Sand edges smooth, avoid sharp corners, and secure parts tightly with screws for durability.
What Is The Best Height For A Bird Stand Perch?
Keep the perch between 3 to 5 feet tall. This height gives birds comfort, visibility, and easy access, depending on species and room size.
Can I Customize A Bird Stand Perch Design?
Yes. Adjust size, shape, and add features like toys or swings. Use different woods or paint colors to match your bird’s needs and home décor.
Conclusion
Creating a bird stand perch is a rewarding task. It offers your bird a safe place to rest and play. Remember to use sturdy materials for durability. Keep the perch size suitable for your bird’s comfort. Adding toys can enhance your bird’s experience.
Regular cleaning keeps the perch hygienic. Follow these steps, and your feathered friend will thank you. Your bird’s happiness is worth the effort. Enjoy the satisfaction of building something special. A homemade perch enriches your bird’s life. It’s a simple project with great benefits for your pet.