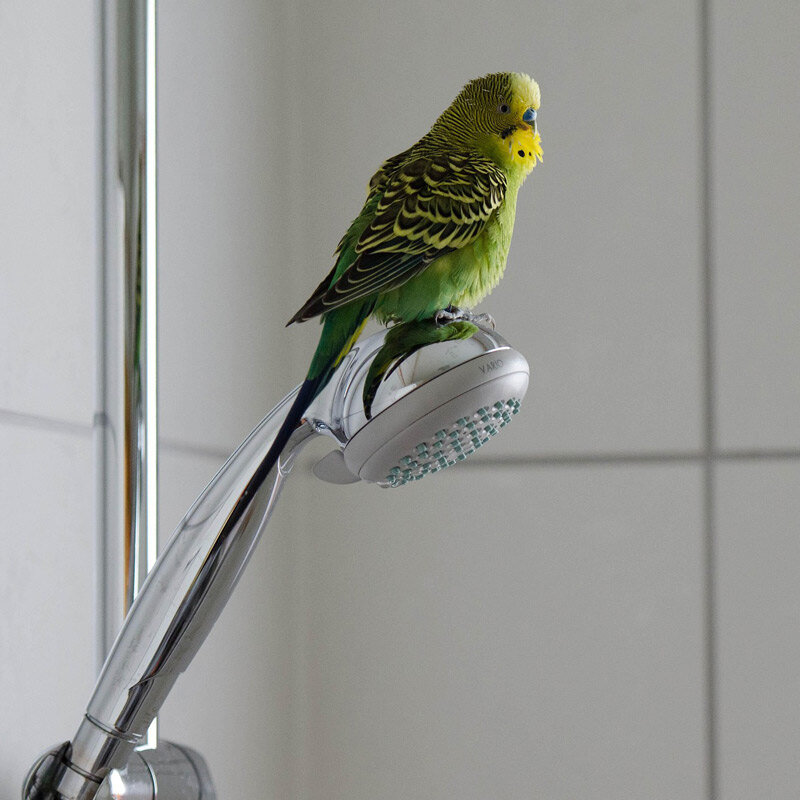
Have you ever watched birds enjoy a refreshing splash and wished you could invite them to your garden? Creating a bird shower perch is easier than you think, and it’s a wonderful way to bring nature closer to your home.
Imagine seeing colorful birds gather, bathe, and chirp happily right outside your window. This guide explains How to Make Bird Shower Perch using simple tools and easy steps that anyone can follow.
If you want to attract more birds and keep them coming back, you’re in the right place. Ready to make your outdoor space a little livelier and more joyful?
Let’s get started!
Benefits Of A Bird Shower Perch
A bird shower perch offers a special place for birds to bathe and rest. It helps keep birds clean and healthy. Installing one in your yard can also attract more birds.
Bird shower perches support natural bird habits and add charm to outdoor spaces. Below are key benefits of having one.
Improving Bird Hygiene
Bird shower perches help birds clean their feathers. Bathing removes dust and parasites. Clean feathers keep birds warm and able to fly well.
- Removes dirt and pests
- Prevents feather damage
- Supports overall bird health
Encouraging Natural Behavior
Bird shower perches let birds act naturally. Bathing, preening, and socializing happen here. This reduces bird stress and encourages activity.
| Natural Behavior | Benefit |
|---|---|
| Bathing | Cleans feathers and skin |
| Preening | Aligns feathers for flight |
| Socializing | Builds bird community bonds |
Enhancing Backyard Appeal
A bird shower perch adds beauty to any backyard. It creates a lively, natural space. Watching birds bathe is relaxing and fun for all ages.
- Attracts various bird species
- Improves garden look
- Creates a peaceful outdoor spot
Credit: lafeber.com
Materials Needed
Making a bird shower perch needs the right materials. Using safe and sturdy items helps keep birds safe and happy.
This guide covers wood selection, water parts, and tools you will need to build the perch.
Selecting Safe Wood
Choose wood that is non-toxic and weather-resistant. Avoid treated or painted wood as it can harm birds.
- Cedar wood – naturally weatherproof and safe
- Redwood – resists decay and insects
- Pine – use only untreated pine wood
- Avoid plywood and particle board
- Sand wood smooth to avoid splinters
Choosing Water Source Components
Select parts that keep water clean and easy for birds to drink and bathe.
| Component | Purpose | Material |
| Water basin | Holds water for birds | Plastic, ceramic, or metal |
| Drip system | Provides fresh water flow | Plastic tubing or drip emitters |
| Water pump | Keeps water moving to prevent stagnation | Submersible pump, waterproof |
Gathering Tools And Accessories
You will need basic tools to cut, assemble, and finish your bird shower perch.
- Hand saw or power saw for cutting wood
- Drill with bits for screws and holes
- Screwdriver or power driver
- Sandpaper or electric sander
- Waterproof wood glue and outdoor screws
- Measuring tape and pencil for marking
Designing Your Perch
Designing a bird shower perch requires careful thought. A well-made perch invites birds to rest and enjoy water safely.
Consider the size, comfort, and water flow to make your perch functional and attractive to birds.
Sizing For Different Bird Species
Birds come in many sizes. Your perch should match the size of birds you want to attract. Small birds need narrow perches. Larger birds need wider and stronger spots.
| Bird Type | Perch Diameter | Perch Length |
| Small Birds (finches, sparrows) | 0.5 inch (1.3 cm) | 6-8 inches (15-20 cm) |
| Medium Birds (robins, cardinals) | 1 inch (2.5 cm) | 8-12 inches (20-30 cm) |
| Large Birds (blue jays, doves) | 1.5 inch (3.8 cm) | 12-16 inches (30-40 cm) |
Creating Comfortable Perch Spots
Comfort is key for birds to stay longer. Use smooth wood or rounded edges to protect their feet. Avoid slippery surfaces to prevent falls.
- Use natural wood or textured materials
- Round off sharp corners
- Make sure the perch is stable and secure
- Add multiple perches for groups of birds
Incorporating Water Flow Features
Water flow keeps the shower fresh and inviting. Gentle water movement attracts birds and helps clean the perch. Avoid strong currents that may scare them.
Water Flow Ideas:
- Use a small pump for gentle bubbling
- Install a drip system above the perch
- Place a shallow basin with flowing water
- Ensure water does not pool too deep
The sound of dripping or splashing water is a “magnet” for migratory birds. A simple recirculating system keeps the water oxygenated and prevents it from becoming stagnant.
-
Pro Tip: Position your drip emitter so it splashes onto a flat rock or the perch itself. The sound of the “tinkling” water can be heard by birds from great distances.
Step-by-step Assembly
Making a bird shower perch is a fun project. It gives birds a place to rest and enjoy water. Follow these steps to build your own bird shower perch.
Each step is simple and uses easy-to-find materials. Take your time and enjoy the process.
Preparing The Wood Base
Start by choosing a flat piece of wood for the base. It should be sturdy and weather-resistant. Sand the surface to avoid rough edges.
Drill holes for drainage and for attaching the water system later. Make sure the base is clean and dry before moving on.
- Choose wood size: about 12 inches square
- Sand all edges smooth
- Drill small holes for water flow
- Clean dust and debris from the wood
Installing The Water System
Use a small water pump or drip system to keep water flowing. Attach tubing to the pump and place it under the wood base. Connect tubing to a water source.
Secure the tubing so water flows gently over the base. Test the system to check water flow before fixing the perch structure.
- Place pump under the wood base
- Attach tubing from pump to water source
- Make sure water flows evenly
- Test for leaks or blockages
Securing The Perch Structure
Attach wooden or metal rods to the base for birds to perch on. Use screws or strong glue to fix them firmly. Space the perches evenly around the base.
Check that all parts are stable and safe for birds. Place the bird shower in a quiet, shaded area for the best results.
- Use sturdy rods for perches
- Fix rods with screws or glue
- Space perches evenly
- Ensure the structure is stable
- Place in a quiet, shaded spot
Placement And Installation Tips
Building a bird shower perch is fun and helpful for birds. Proper placement and installation make it work well. You want birds to feel safe and comfortable.
Good placement attracts more birds. Installation must be sturdy to hold the perch steady. Let’s look at some tips to help you set it up right.
Choosing The Right Location
Pick a quiet spot away from busy areas. Birds like calm places to drink and bathe. Avoid spots near windows to prevent bird collisions.
Place the perch where birds have some cover like trees or bushes nearby. This helps them feel safe from predators.
- Find a shady area to keep water cool
- Keep it visible to birds flying nearby
- Avoid windy or very hot spots
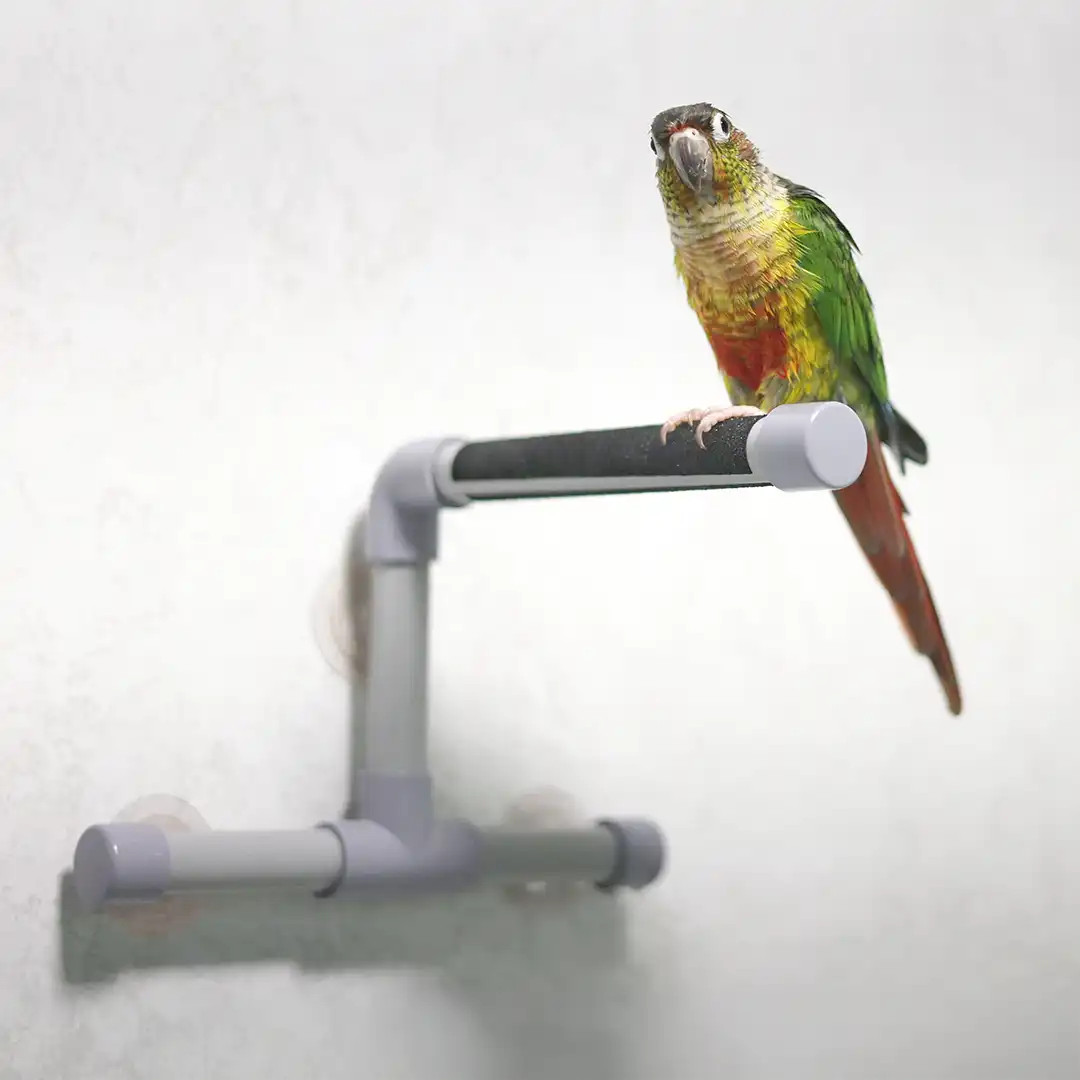
Mounting Options For Stability
Use a strong base to keep the perch steady. A shaky perch can scare birds away. Choose a mounting method that fits your space.
Secure the perch to a pole, fence, or tree using screws or strong ties. Make sure it does not move in the wind or when birds land on it.
- Mount on a metal or wooden pole with screws
- Use zip ties for mounting on tree branches
- Place on a flat surface with weighted base
Ensuring Easy Bird Access
Make sure birds can land and take off easily. The perch should be open with space around it. Avoid placing it too high or too low.
Keep the perch surface smooth and wide enough for birds to stand on. Add small perches nearby if needed for different bird sizes.
- Keep the perch 3 to 6 feet above ground
- Clear any obstacles near the perch
- Provide multiple landing spots for small and large birds
Credit: www.northernparrots.com
Maintenance And Cleaning
Keeping your bird shower perch clean is key to a healthy environment for birds. Regular care helps prevent dirt and germs buildup.
Simple cleaning steps will keep the water fresh and safe for birds to enjoy their bath.
Regular Water Replacement
Change the water in the bird shower perch at least once every day. This stops mosquitoes from breeding and keeps the water fresh.
- Empty old water completely
- Rinse the basin with clean water
- Refill with fresh, cool water
- Place the perch in a shaded area to keep water cool
Removing Debris And Algae
Leaves and dirt can fall into the water, causing algae to grow. Clean these out often to keep the perch safe.
| Cleaning Item | Why Clean? | How Often? |
|---|---|---|
| Leaves and Twigs | Prevent water contamination | Daily |
| Algae | Stop slippery surfaces and bad smell | Weekly |
| Perch Surface | Remove dirt and bird droppings | Weekly |
Seasonal Care Advice
Seasons affect how you should care for the bird shower perch. Cold and hot weather need different steps.
- In winter, empty water daily to avoid freezing
- In summer, refill water more often to keep it cool
- Check the perch for damage after storms or heavy winds
- Store the perch indoors if not used during harsh weather
Attracting Birds To Your Shower Perch
Creating a bird shower perch is a fun way to enjoy nature. Birds love places where they can drink and bathe. You can make your perch more inviting to them.
Using simple techniques helps bring more birds to your garden. This guide shows how to attract birds with plants, feeders, and timing.
Using Bird-friendly Plants
Birds need food and shelter. Planting the right flowers and shrubs near your shower perch helps. Native plants provide seeds and berries birds like.
- Choose plants that produce berries or seeds
- Include shrubs for cover and nesting
- Plant flowers that attract insects for insect-eating birds
- Use a mix of tall and low plants for variety
- Avoid pesticides to keep birds safe
Adding Bird Feeders Nearby
Feeders give birds a steady food source. Place them near the shower perch but not too close. This lets birds drink and eat safely.
| Feeder Type | Best Food | Placement Tips |
| Tube Feeder | Mixed Seeds | Hang near trees for cover |
| Platform Feeder | Sunflower Seeds | Place on a pole 5 feet high |
| Niger Feeder | Niger Seeds | Good for small birds like finches |
Timing For Maximum Visits
Birds visit more often at certain times. Early morning and late afternoon are best. Keep your shower perch clean to encourage visits.
- Check the water daily and refill if needed
- Watch birds in early morning hours
- Keep feeders full during colder months
- Remove standing water in hot seasons to prevent mosquitoes

Credit: www.jamtkrogen.com
Frequently Asked Questions
What Materials Do I Need For A Bird Shower Perch?
You need wood, waterproof paint, screws, and a small water container. These materials ensure durability and safety for birds. Use non-toxic paint to protect birds from harmful chemicals.
How Do I Assemble A Bird Shower Perch?
Cut the wood to size, drill holes for screws, and attach parts securely. Fix the water container at the base for easy access. Ensure all edges are smooth to prevent bird injuries.
Where Should I Place The Bird Shower Perch?
Place it in a shaded, quiet area in your garden or balcony. Ensure it is visible for birds but safe from predators. Avoid windy spots to keep water in the container.
How Often Should I Clean The Bird Shower Perch?
Clean it weekly to prevent algae and bacteria build-up. Use mild soap and water, then rinse thoroughly. Fresh water encourages more birds to visit and stay healthy.
Conclusion
Creating a bird shower perch is a fun DIY project. It ensures your feathered friend stays clean and happy. The process involves simple materials and basic tools. Enjoy watching your bird play and bathe. A shower perch can improve your bird’s health.
It also provides mental stimulation. Remember, a happy bird is a healthy bird. Make sure to install it securely. Monitor your bird’s comfort regularly. Adjust if needed for safety. Now, your bird can enjoy bath time. You’ve created a safe, enjoyable space for them.
Keep crafting and caring for your feathered friend!